What Is PIL?
PIL (Python Imaging Library / Pillow) is a Python library that adds support for opening, manipulating, and saving many different image file formats. It has a very friendly API with lots of help online including good documentation.
PIL supports Windows macOS and Linux and supports many versions of Python; see the installation notes to identify which version of PIL you will need for the version of Python you are using. At the time of wiring this, PIL 7 has been released and supports Python 3.8 - 3.5.
Installing PIL
To install PIL, execute the following in a terminal:
python -m pip install Pillow
To install an older version of PIL, execute
python -m pip install pip=<version>eg.python -m pip install pip=7.2.0. You can find older versions released in the release notes.
To validate it was installed correctly, go to IDLE or a python shell and execute:
import PIL
If no import error is raised, it was installed successfully.
I Can't Import PIL
Make sure you have executed the install command above; if you're not sure you have executed it already, it is safe to execute it a second time.
If there were no errors when installing it and it says PIL is installed successfully, make sure you're 100% sure that you installed PIL in the same distribution of Python that you're trying to import it in. Go to my tutorial on How to Manage Multiple Python Distributions if you're having some issues or are unsure about this.
Taking A Screenshot
To take a screenshot, we first need to import the ImageGrab module from PIL.
After we have the ImageGrab module, we can call .grab() to take a screenshot
from PIL import ImageGrab

screenshot = ImageGrab.grab()  # Take the screenshot
On Linux, you must be using PIL 7.1.0 or higher for this to work; see release notes.
Viewing The Screenshot
To view the screenshot, we can call .show() on the returned Image object. For example, using the code from above:
from PIL import ImageGrab

screenshot = ImageGrab.grab()
screenshot.show()  # Show the image using the default image viewer
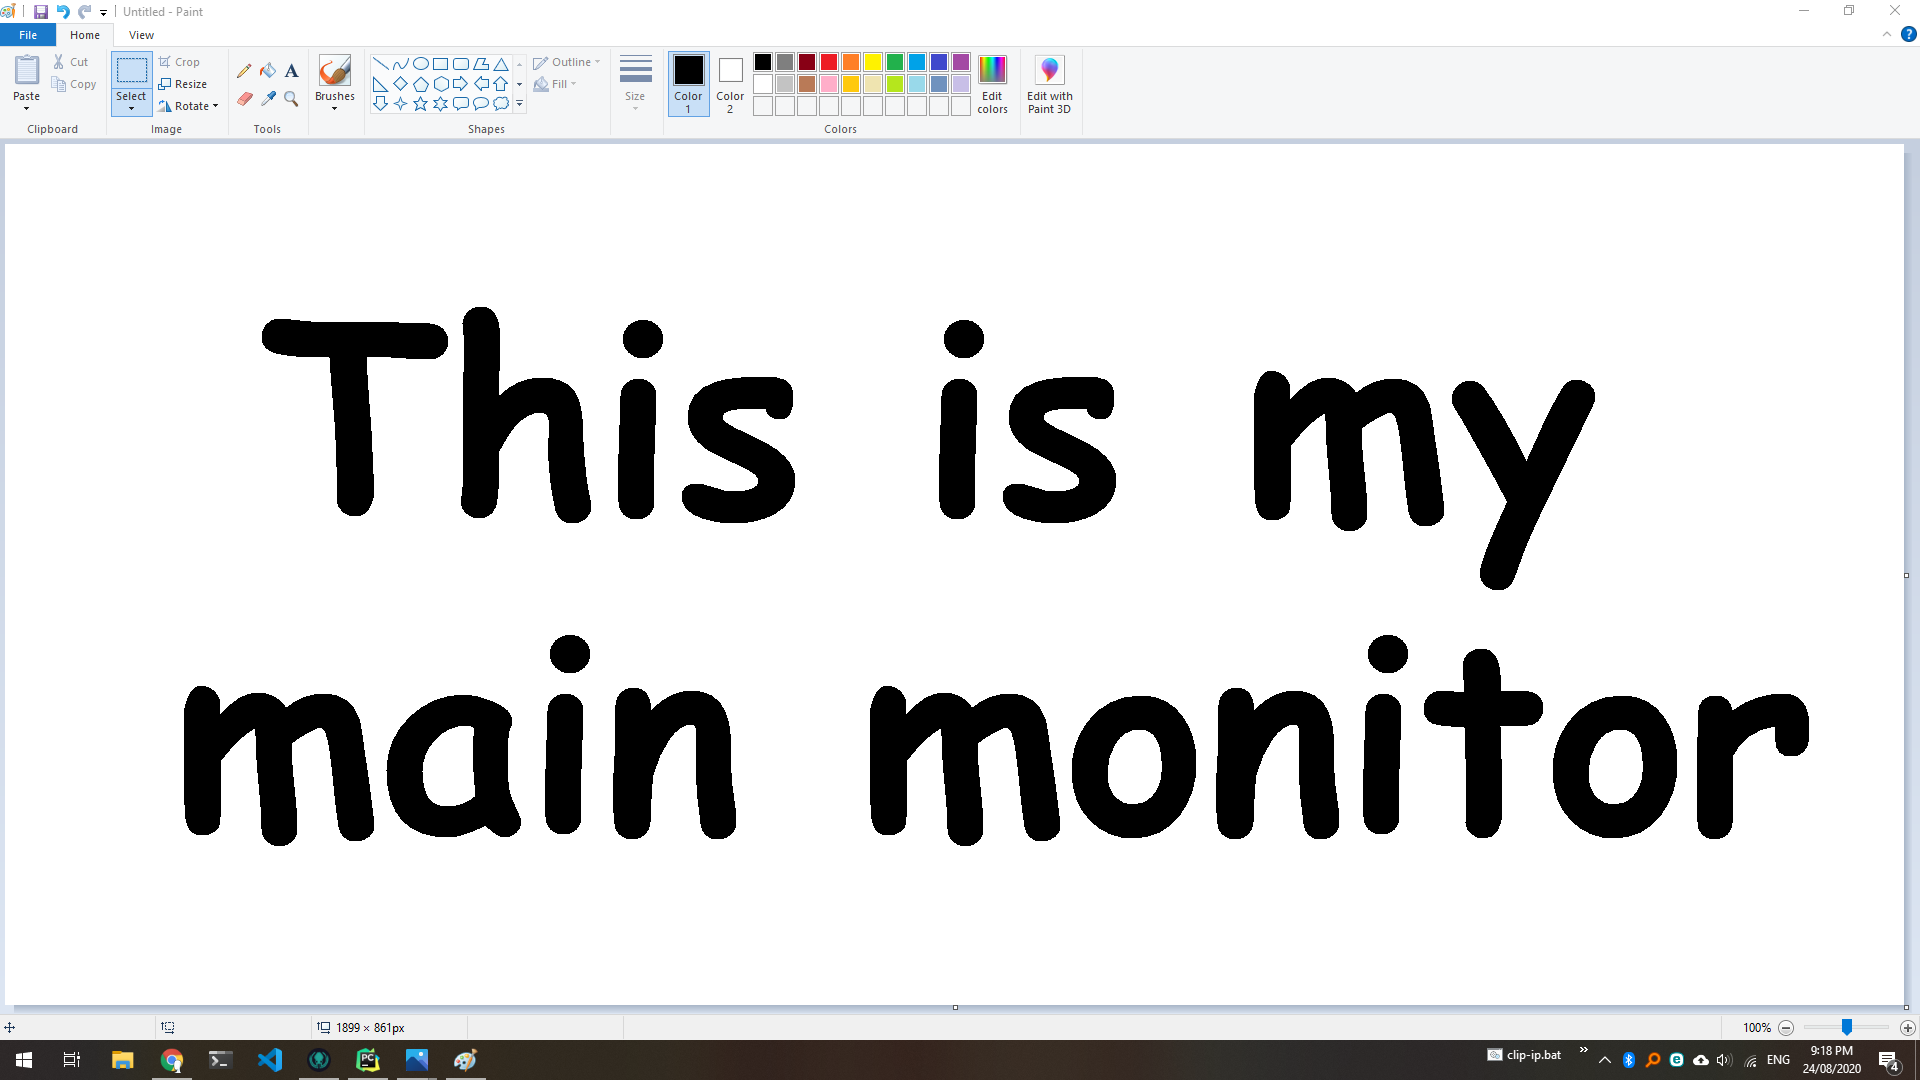
Executing this will open the screenshot in your default image viewer. If you have more than one display, you will notice that this screenshot is only of the first display; I will expand on this further below.
Here is an example of a screenshot I took:
Saving The Screenshot
Saving images in PIL is very easy, calling .save() on the returned Image object will allow us to save the image into a file.
from PIL import ImageGrab

filepath = 'my_image.png'

screenshot = ImageGrab.grab()
screenshot.save(filepath, 'PNG')  # Equivalent to `screenshot.save(filepath, format='PNG')`
Now if you go and open the file filepath ("my_image.png" in the current working directory for this example), you will see the screenshot has been saved.
If you provide a file path with an extension of a supported image format, you can omit the format.
Saving To A File Object
If you have a file already open in write mode or want to save the image to a file object, you can pass that instead of the filename. For example:
from PIL import ImageGrab

file = open('my_file.png', 'w')

screenshot = ImageGrab.grab()
screenshot.save(file, 'PNG')  # Save the image to the file object as a PNG

file.close()  # Make sure to close the file when you're done
or
from io import BytesIO
from PIL import ImageGrab

bytes_io = BytesIO()

screenshot = ImageGrab.grab()
screenshot.save(bytes_io, 'PNG')  # Save the image to bytes_io as a PNG

# Do what you want with the bytes_io object
Taking A Screenshot Of A Different Display
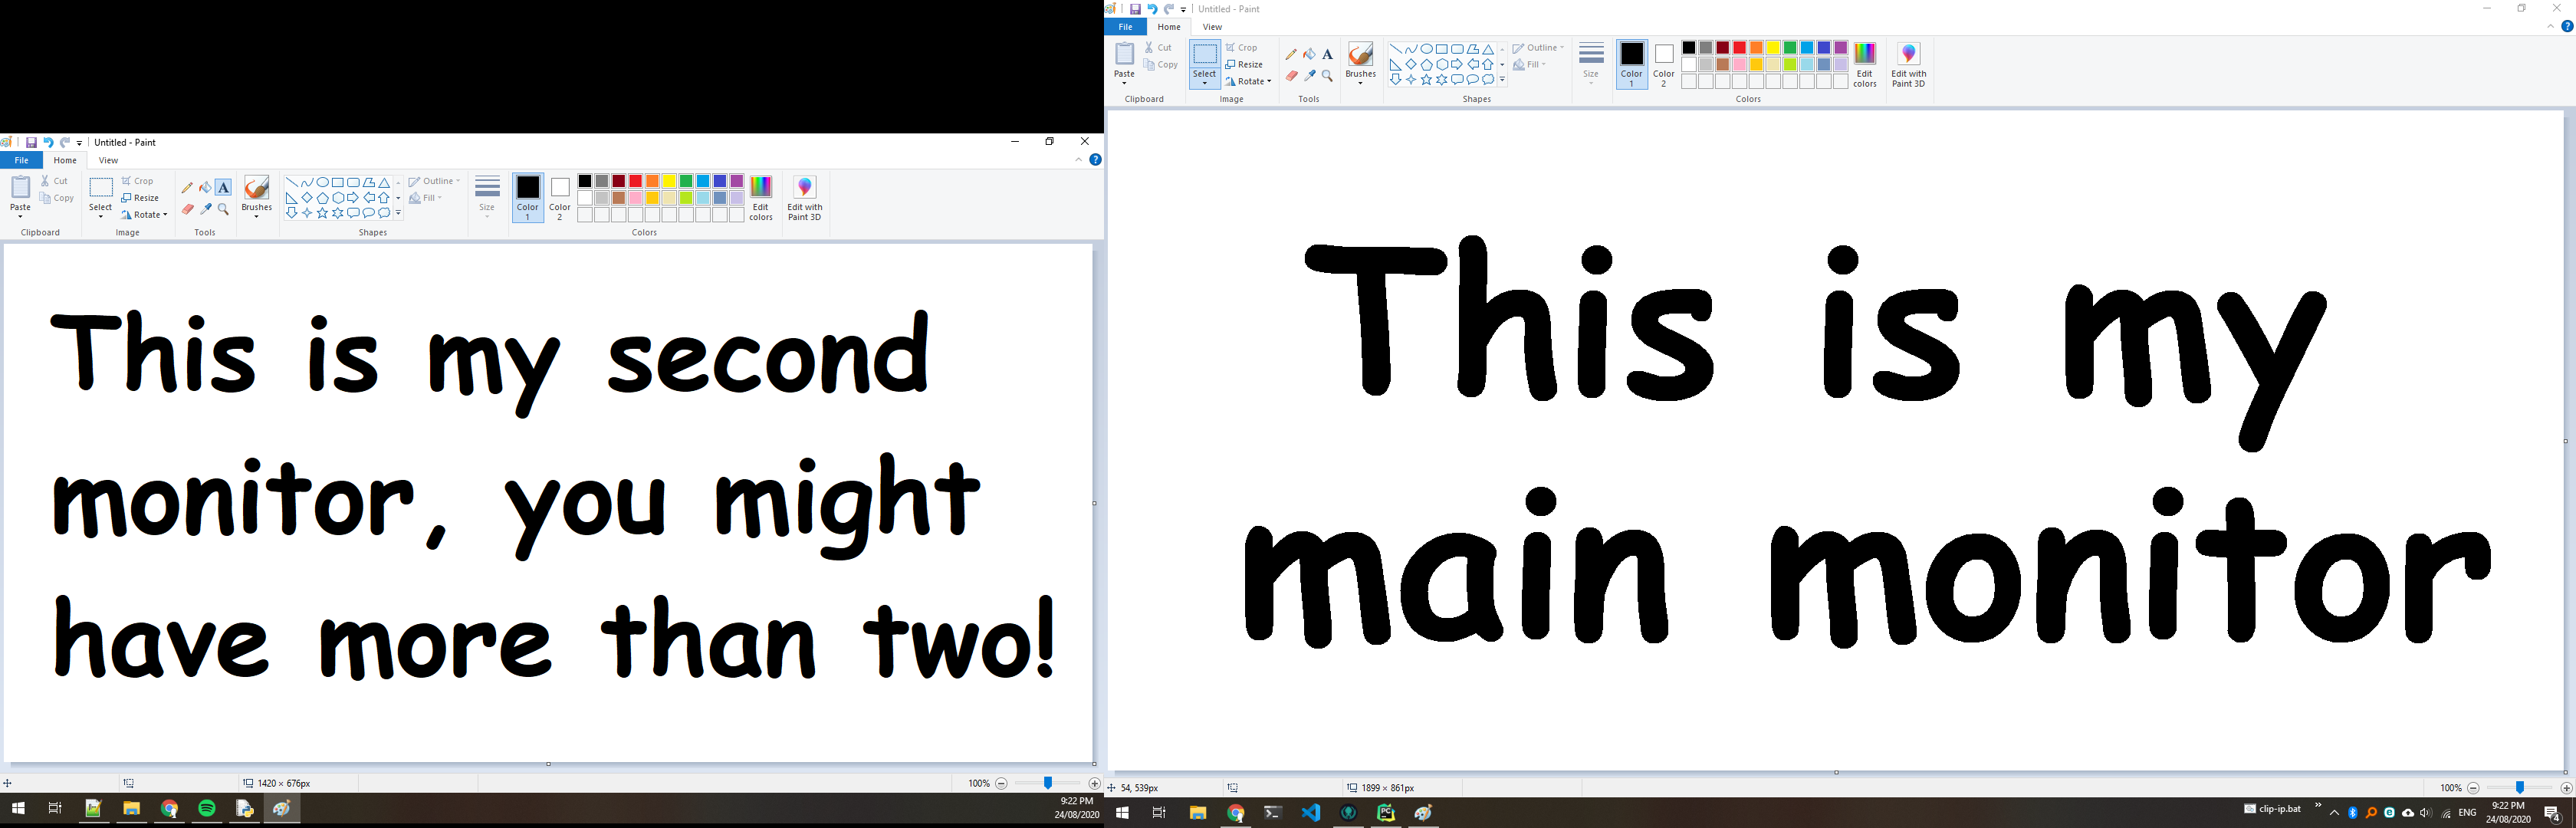
Back when we took a screenshot using ImageGrab.grab(), it only captured the main display. To take a screenshot of all displays, we can pass all_screens=True:
from PIL import ImageGrab

screenshot = ImageGrab.grab(all_screens=True)  # Take a screenshot that includes all screens
Please note that
all_screensis currently only supported in Windows
Now when you call screenshot.show(), you will see that multiple monitors are now displayed. Here is an example of my monitors:
Now that you have this larger image, you can crop it using other methods in PIL: How to crop an image using PIL.
Using MSS to Screenshot Each Displays
I also have a tutorial How To Take A Screenshot In Python Using MSS which goes over how to take screenshots using the Python MSS library. The tutorial is very similar, however MSS has better support for screenshots of different individual displays (including macOS and Windows).