This tutorial is symmetrical to my tutorial How To Take A Screenshot In Python Using PIL. If you would rather use PIL and only need to take a screenshot of one display, you may find using PIL easier.
What Is MSS?
MSS is an ultra-fast cross-platform multiple screenshots module in pure python using ctypes. It supports Python 3.5 and above and is very basic and limited for what it does.
MSS would be used over PIL to take screenshots as it supports specifying the display to capture and can capture screenshots of all displays - currently, PIL can only capture the main display on macOS and Linux.
Although MSS is used instead of PIL to take the screenshot, it doesn't mean you can't use PIL after taking the screenshot to manipulate the image further - MSS only supports taking screenshots.
In my opinion, the API for this library is not great - however is has great multi-platform support and supports multiple monitors with ease! Pairing it with PIL makes it worth it.
Installing MSS
To install MSS, execute the following in a terminal:
python -m pip install mss
To validate it was installed correctly, go to IDLE or a python shell and execute:
import mss
If no import error is raised, it was installed successfully.
You might also find it helpful to install PIL for this tutorial but it is not required for basic operations:
python -m pip install Pillow
I Can't Import MSS
Make sure you have executed the install command above; if you're not sure you have executed it already, it is safe to execute it a second time.
If there were no errors when installing it and it says MSS is installed successfully, make sure you're 100% sure that you installed MSS in the same distribution of Python that you're trying to import it in. Go to my tutorial on How to Manage Multiple Python Distributions if you're having some issues or are unsure about this.
Taking A Screenshot
To take a screenshot and keep it in memory, we first need to import mss and identify the monitor we want to capture, then we can call .shot() on the instance of mss.mss:
import mss

with mss.mss() as mss_instance:  # Create a new mss.mss instance
    monitor_1 = mss_instance.monitors[1]  # Identify the display to capture
    screenshot = mss_instance.grab(monitor_1)  # Take the screenshot
Viewing The Screenshot (Using PIL)
If you have PIL installed, we can do some quick translations to turn this returned object into a PIL.Image object to then show:
from PIL import Image  # Will need to make sure PIL is installed
import mss

with mss.mss() as mss_instance:
    monitor_1 = mss_instance.monitors[1]
    screenshot = mss_instance.grab(monitor_1)

    img = Image.frombytes("RGB", screenshot.size, screenshot.bgra, "raw", "BGRX")  # Convert to PIL.Image
    img.show()  # Show the image using the default image viewer
Saving The Screenshot To A File
MSS by default supports saving the screenshot to a file as soon as it's been taken. By simply defining the destination of the file, we can execute:
import mss

output_filename = 'screenshot.png'

with mss.mss() as mss_instance:
    mss_instance.shot(output=output_filename)
However, if you want to save the image we translated to a PIL object above, we can do:
from PIL import Image  # Will need to make sure PIL is installed
import mss

output_filename = 'screenshot.png'

with mss.mss() as mss_instance:
    monitor_1 = mss_instance.monitors[1]
    screenshot = mss_instance.grab(monitor_1)

    img = Image.frombytes("RGB", screenshot.size, screenshot.bgra, "raw", "BGRX")  # Convert to PIL.Image
    img.save(output_filename, "PNG")  # Save the image
Saving To A File Object
If you want to save the screenshot to a file object, we can use something very similar to the PIL method above to store a PNG:
from io import BytesIO
from PIL import Image  # Will need to make sure PIL is installed
import mss

bytes_io = BytesIO()

with mss.mss() as mss_instance:
    monitor_1 = mss_instance.monitors[1]
    screenshot = mss_instance.grab(monitor_1)

    img = Image.frombytes("RGB", screenshot.size, screenshot.bgra, "raw", "BGRX")  # Convert to PIL.Image
    img.save(bytes_io, "PNG")  # Save to the bytes_io object
Example
Taking A Screenshot Of A Different Display
In the above examples, you would have seen that I was using monitor 1 by calling mss_instance.monitors[1] to get the screenshot.
Using the basic mss_instance.shot and passing a monitor number to it, we can tell MSS what monitor to capture:
import mss

output_filename = 'screenshot.png'
monitor = 2  # Save a screenshot of monitor 2

with mss.mss() as mss_instance:
    mss_instance.shot(mon=monitor, monoutput=output_filename)
However, if you want to have a PIL Image object but don't want to have to save and then read the file (because that is slow), we will need to first identify the monitor position and dimensions.
Looking at mss_instance.monitors will give us the monitor information we need:
import mss

with mss.mss() as mss_instance:
    print(mss_instance.monitors)
Output:
[
    {'left': -1440, 'top': 0, 'width': 3360, 'height': 1080},
    {'left': 0, 'top': 0, 'width': 1920, 'height': 1080},
    {'left': -1440, 'top': 174, 'width': 1440, 'height': 900}
]
Your output could look different to mine, and that's ok; this is a representation of my monitor layout.
In the output above, we can see three "monitors". I only have two monitors, but MSS is advertising all my monitors combined in one shot as the first monitor mss_instance.monitors[0]. This means when you want to screenshot only a monitor by itself, start at 1.
Once you identify the display to capture, you can then take the screenshot using mss_instance.grab:
from PIL import Image  # Will need to make sure PIL is installed
import mss

with mss.mss() as mss_instance:
    monitor_1 = mss_instance.monitors[1]
    screenshot = mss_instance.grab(monitor_1)

    img = Image.frombytes("RGB", screenshot.size, screenshot.bgra, "raw", "BGRX")  # Convert to PIL.Image
    # Use img as you please
Examples
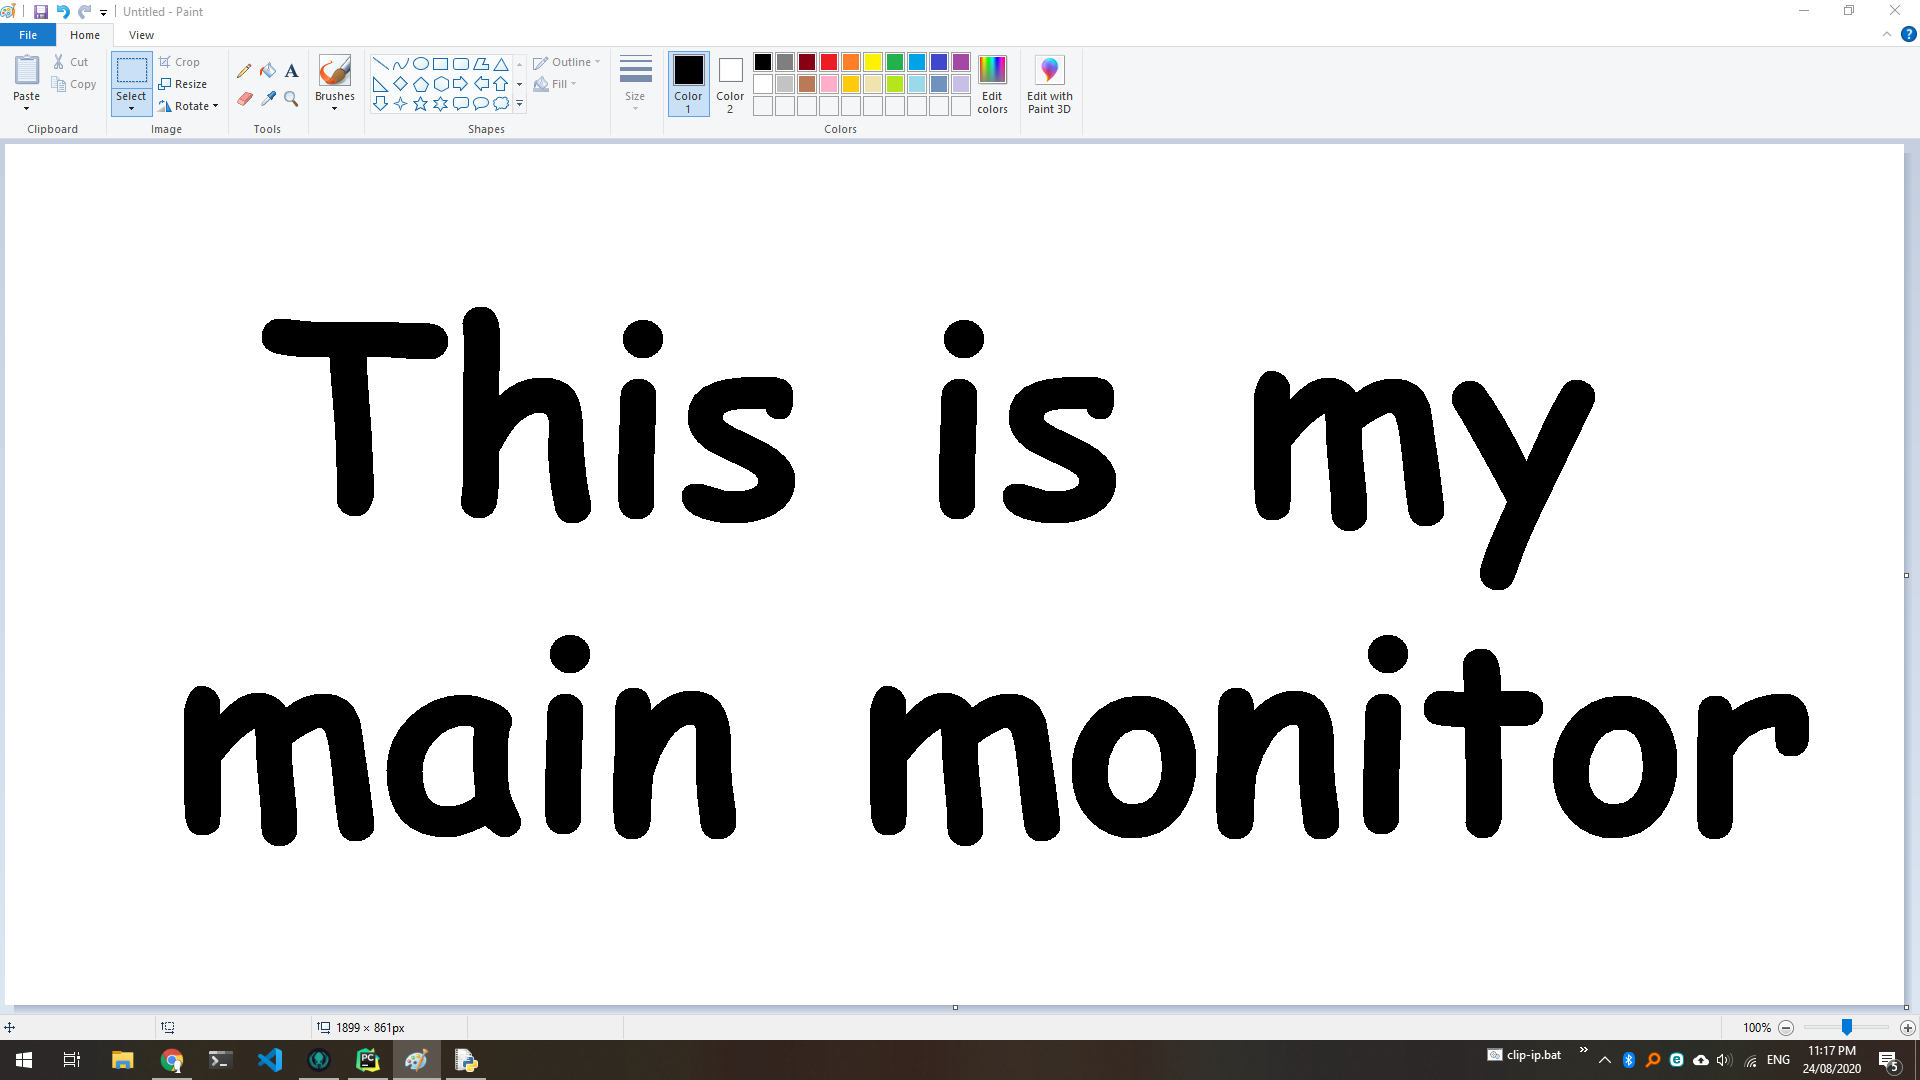
Monitor 0 (All Together):
from PIL import Image  # Will need to make sure PIL is installed
import mss

with mss.mss() as mss_instance:
    monitor = mss_instance.monitors[0]
    screenshot = mss_instance.grab(monitor)

    img = Image.frombytes("RGB", screenshot.size, screenshot.bgra, "raw", "BGRX")  # Convert to PIL.Image
    img.save('output.png', 'PNG')
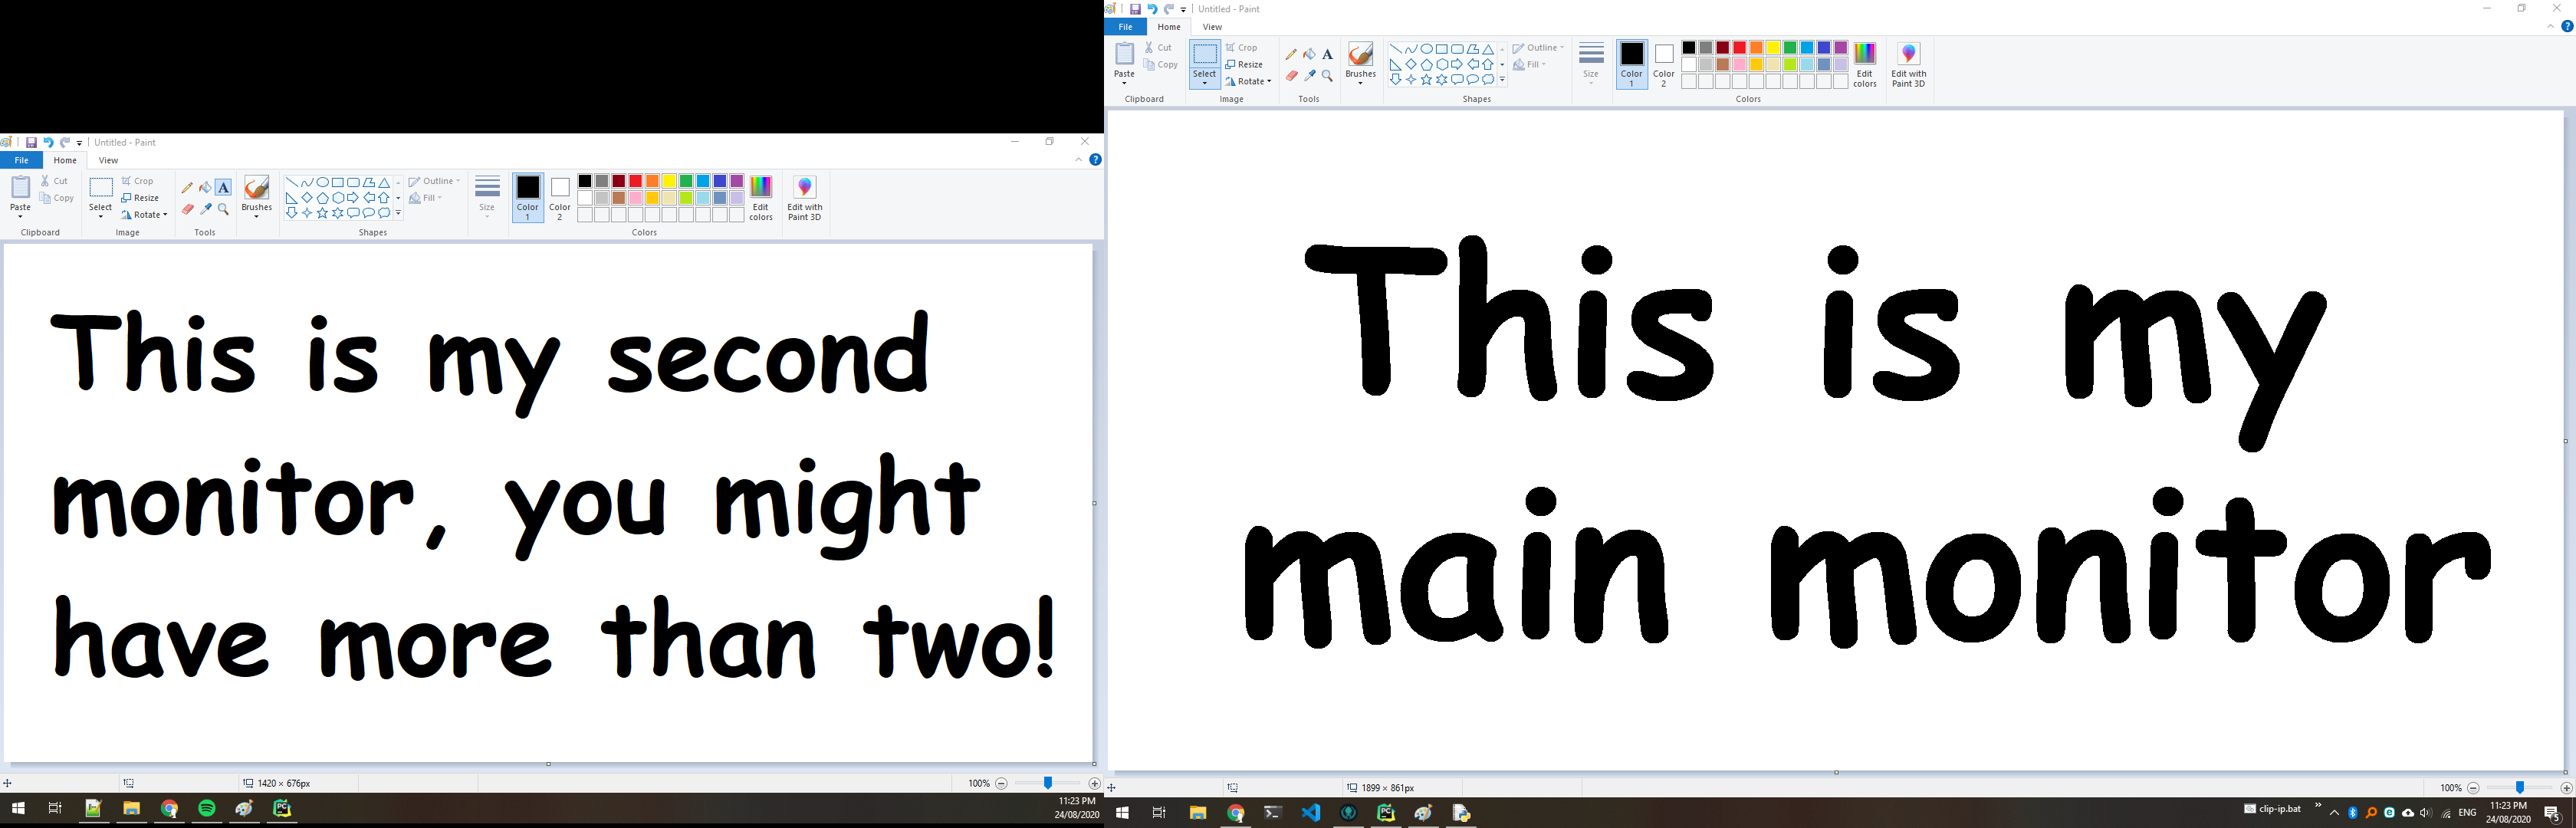
Monitor 1:
Monitor 2:
