The original repo for this project has been removed and can now be found on the
v1branch in brentvollebregt/nitratine.net.
This version of the Nitratine project was originally a place to host my projects, tutorials and tools. I created a website that fulfilled my wants to host this content over more than two months.
I have now decided to relocate the Nitratine project to Github Pages as it has a lot of benefits but I will still keep this repo public as it may be useful for something else one day.
What is this?
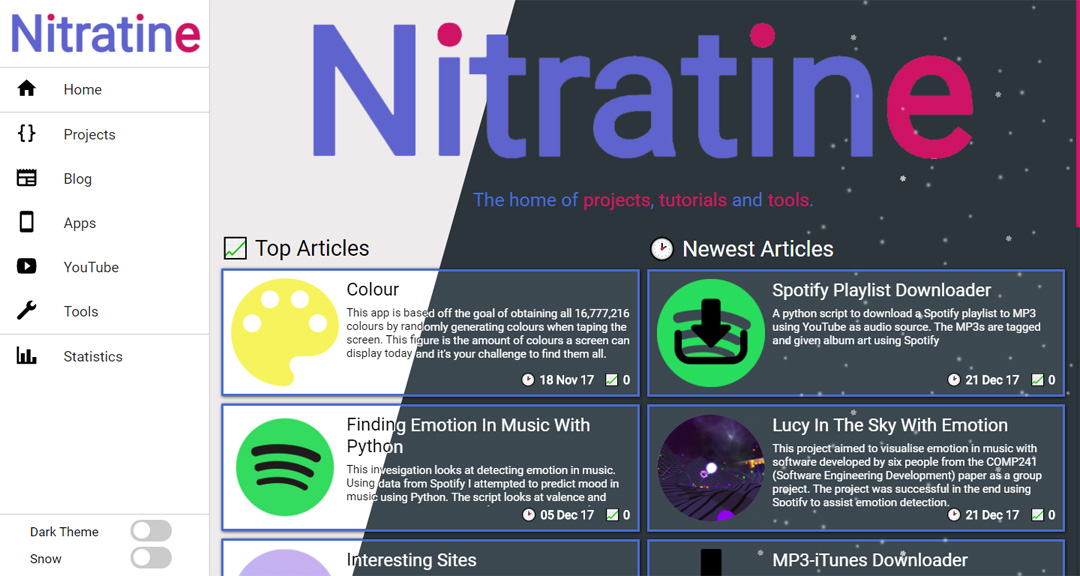
This project is a website that is hosted using Flask in Python. The main idea of it is to be able to add articles easily while still keeping the raw HTML idea. When the server starts it will look for articles in a user-defined directory that is laid out to a certain specification. From then on the server's data can be edited at any time from within the site.
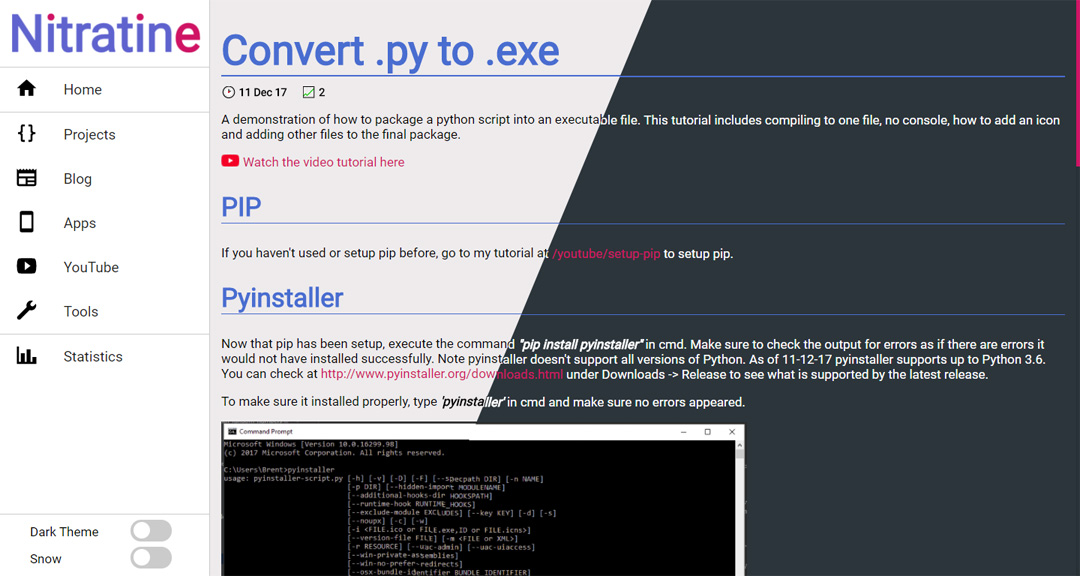
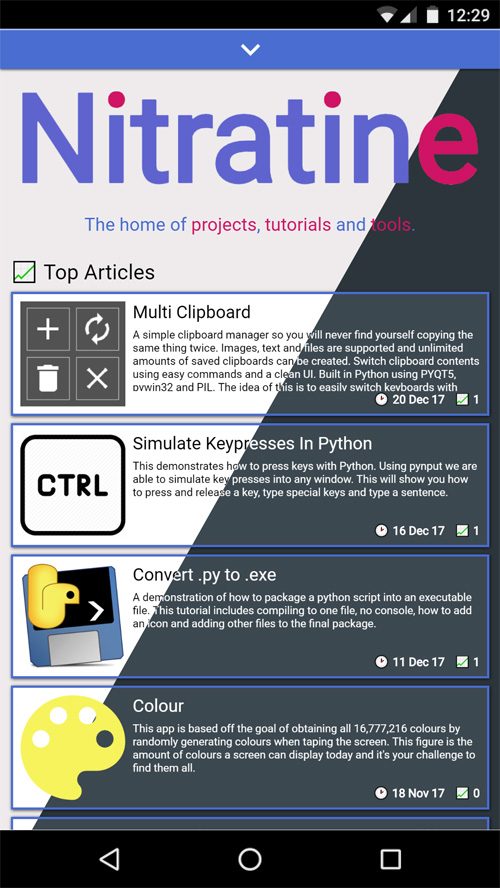
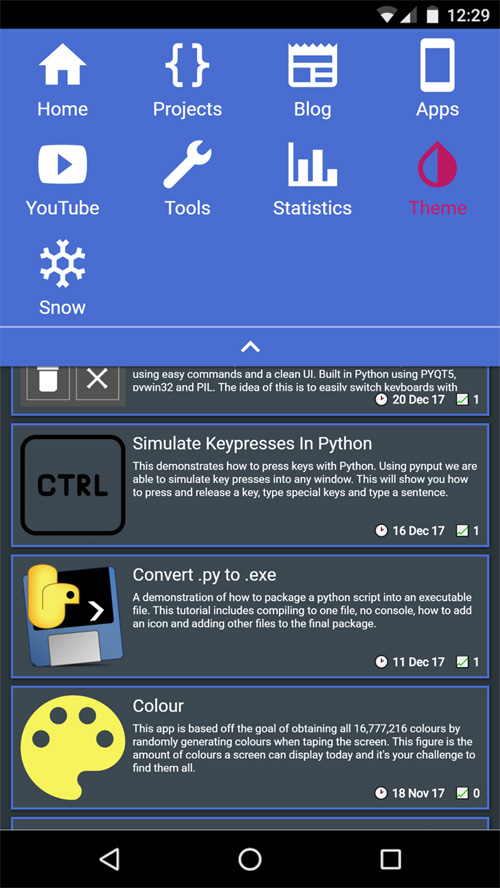
The site has a home page and then five sub-areas; each article is put under one sub-area. The site has a light and dark theme and even has an option to display snow. Mobile support has been added by adding different navigation and different breakpoints have been fitted to the site. The site records viewings for each article and can display them.
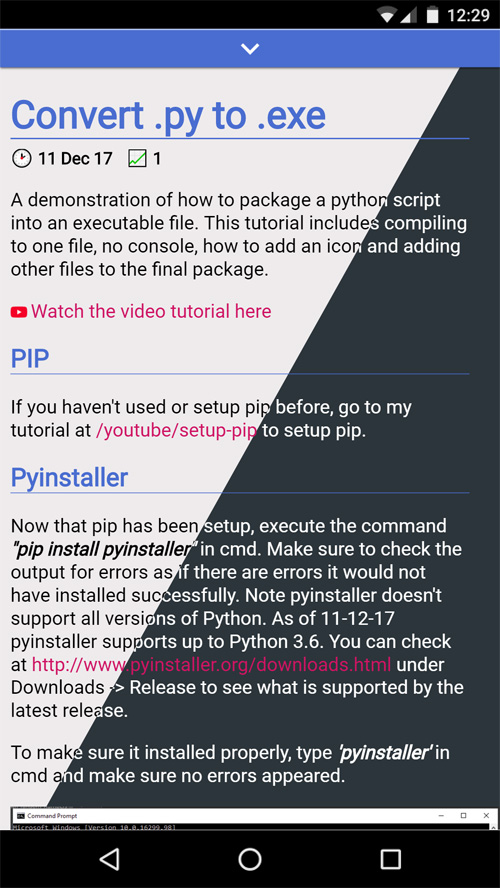
Demonstration and Screenshots
Features
- Easily add articles though a file explorer or administration panel
- Views are recorded for all articles
- Site split into five categories (the main ones I wanted)
- Easily edit site settings anywhere
- Pages displayed by popularity and date
- Switch between light and dark themes
- Option to switch snow on
- Supports smaller screen sizes
- Has a different menu for smaller devices
- Run python code server-side
- Right sidebar that appears on wide enough devices with:
- YouTube subscribe button
- 6 most recent videos
- Github card of your profile
- Optional: 300x250 ad
Installation and Setup
- Install Requirements
- Python 3
- Flask (pip install Flask)
- Clone or download the git repo at github.com/brentvollebregt/nitratine.net and cd into the project
- Checkout the v1 branch:
git checkout v1 - Run server.py
- Go to /admin
- Set variables on this page and change options
- Set username and password using "Raw JSON" if needed
After setting up the server and restarting server.py, the server will be running on the localhost. This can be changed in server.py or app can be imported from server.py from another script.
Articles
To add articles to the site you will need to have defined the articles location in the servers data.json. They then need to follow a format to be detected on startup.
- Root directory (specified in JSON)
- sub (e.g. apps, blog, projects...)
- Article name (what will be in the url)
- data.json (Article info)
- icon.png (Icon for article)
- view.html (HTML page extending SKELETON.html)
- Article name (what will be in the url)
- sub (e.g. apps, blog, projects...)
data.json sample:
{
  "title" : "Colour",
  "description" : "This app is based off the goal of obtaining all 16,777,216 colours by randomly generating colours when taping the screen.",
  "date" : "18 Nov 17"
}
view.html sample:
{% extends "SKELETON.html" %}

{% block head %}
<title>{{ title }} | Nitratine</title>
<meta name="description" content="{{ description }}" />
<link rel="stylesheet" type="text/css" href="{{ url_for('static', filename='css/article.css') }}">
<link rel="stylesheet" type="text/css" class="css_dark_theme" href="{{ url_for('static', filename='css/dark/article.css') }}">
<link rel="stylesheet" type="text/css" class="css_light_theme" href="{{ url_for('static', filename='css/syntax_highlighting.css') }}">
<link rel="stylesheet" type="text/css" class="css_dark_theme" href="{{ url_for('static', filename='css/dark/syntax_highlighting.css') }}">
<script async src="{{ url_for('static', filename='js/article.js') }}"></script>
{% endblock %}

{% block content %}
<div class="article_content">
    <h1>{{ title }}</h1>
    <a class="date">{{ date }}</a><a class="views">{{ views }}</a>
    <p>{{ description }}</p>
</div>
{% endblock %}
Here we can see that the two blocks are extended from SKELETON.html. The article CSS file is added and relevant data passed to the template has been used including date, views, description and title; these are pulled from data.json.
Article Layout Example
- articles
- apps
- colour
- data.json
- icon.png
- view.html
- colour
- blog
- how-to-make-a-flask-site
- data.json
- icon.png
- view.html
- how-to-make-a-flask-site
- projects
- how-to-make-a-flask-site
- tools
- rbg-hex-converter
- data.json
- icon.png
- view.html
- rbg-hex-converter
- youtube
- apps
Server Side Scripting
By putting python files in an articles folder, a script can be called at the path /scripts/[sub]/[article]/[script]. The Python file needs to contain a main method that takes the request as a parameter. The main method must return something to be passed back to the client.
def main(request):
    """Do Stuff"""
    return {"success" : True}
The object returned from the main method is what will be returned to the client. This means if you want to return a JSON object, it would be recommended to jsonify it first.
Administration Features
Pushing JSON
In /admin, there is a "Push JSON" button. This will write the current data in memory to data.json. Useful if the server is about to be stopped so the data and be re-imported.
Re-Scraping Pages
In /admin, there is a "Re-scrape Pages" button. This checks all data.json article files for new data and will add any new articles if found.
Article Management
In /admin, under "Download Article" you can enter a sub and an article name to download the article as a .zip.
Under that is a "Delete Article" section. This allows you to delete an article by entering a sub and an article name.
Under that is an "Upload Article" section. This allows you to upload a zip file of an article by adding a file and entering a sub and an article name. These files need to be in the zip immediately (top-level). You will need to re-scrape to add these new articles.
These articles will be found at www.yourdomain.com/sub/article. e.g. nitratine.pythonanywhere.com/apps/colour
Redirects
To set up a redirect, go to the "Redirects" section in /admin and put where you would like to put the redirect from and to; then press add. Reloading the page will show the current redirects. To remove a redirect, put the 'from' link in the input beside the remove button and click remove. Refresh to see that is has been removed. In the server data, they can be manually done as below:
"redirects" : {
    "/apps/color": "/apps/colour",
    "/colour" : "/apps/colour"
}
Static Descriptions
Under the Static Descriptions header, you can edit descriptions of home, stats, apps and other subs. Modify the description in the relative box (page is shown in the submit button) and click "Set x"
Raw DataManipulation
In /admin, there is a "Download JSON" and "Upload JSON" button. This allows you to download JSON to the text box underneath, edit and re-upload it to the server.
External
This section allows you to modify the external key's value in data.json. Here you can set a google site verification code, google analytics code, your GitHub username, youtube channel id, youtube data API key and a 300x250 ad code.
- Google Site Verification: Put the whole meta tag in, e.g. <meta..... />
- Google Analytics Code: Put all JavaScript code given in, e.g. <!-- Global site tag.....;</script>
- Google CSE ID: Only provide the ID, e.g. 017111292325601490982:i7jnd7-zn-o
- Github Username: Your Github username, e.g. brentvollebregt
- YouTube Channel ID: Your YouTube channel ID, e.g. UCesEknt3SRX9R9W_f93Tb7g
- YouTube Data API Key: Your YouTube Data API key (Recommend using HTTP referrer restrictions) , e.g. AIza.....BP4
- 300x250 Ad Code: Raw code from Adsense
Article Folder
In this section, you can download the whole /articles folder or upload a zipped file of the /articles folder. This is easier than using an online console to upload, move and unzip.
Set Site Location
This is just a button that will allow the server to know what the site's location is in terms of its URL to generate robots.txt and sitemap.xml
Add Me To View IP Blacklist
Too make in-site statistics ignore a specific IP, you can add yourself to the list that contains ignored IPs when counting views. Your IP will be added when clicking this button.
Push Per View
Push per view saves the data in memory to data.json whenever a view is added. This saves you from having to push the data before each restart of the server (can lose data if you forget to push). Set to true to enable (remember in /admin you are editing JavaScript so it needs to be true instead of Python's True).
Right sidebar
This is a simple switch to disable or enable the right sidebar. The right sidebar displays a youtube subscribe button, your latest 6 videos, your GitHub profile on a card and the 300x250 ad if provided.
Exporting Stats
In /admin, there is an "Export Stats" button. This buttons will download a .json file of the current site's statistics.
Delete /tmp/
When downloading a zip file, the server cannot delete the file while processing the request as it needs to serve it. Thus the files sit in /tmp/ (beside server.py) so they can be deleted later.
Custom Search Engine
Instead of creating my own sites search index, I decided to use Google's CSE to search queries for me. Simply go to https://cse.google.com/cse/all and create a new search engine. After changing settings, click the get code in the Basics tab and copy the value that is associated with the variable 'cx' in the JavaScript provided.